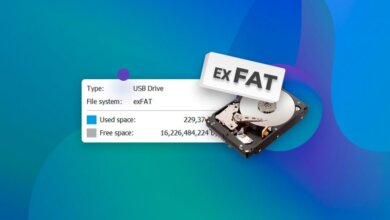
RAW is a file system that cannot be recognized by Windows. When your hard drive partition or other storage device becomes RAW, the data stored on this drive is not available to be read or accessed. There are many reasons that may cause your hard drive to become RAW: damaged file system structure, hard drive error, virus infection, human error, or other unknown reasons. To fix it, people would convert RAW to NTFS, a file system commonly used in Windows. However, it may cause data loss during the converting process as in most cases, we need to format the RAW drive.
In this guide, you can check the best ways to convert RAW to NTFS in Windows 11/10/8/7 without data loss. Now just scroll down and check how to do it.
Method 1: Convert RAW to NTFS in Windows Easily with Data Recovery Software
To access files from the RAW drive, you can recover them with a data recovery program. Then you can convert or change RAW to NTFS without data loss. Now, follow the below steps to convert Raw to NTFS by formatting.
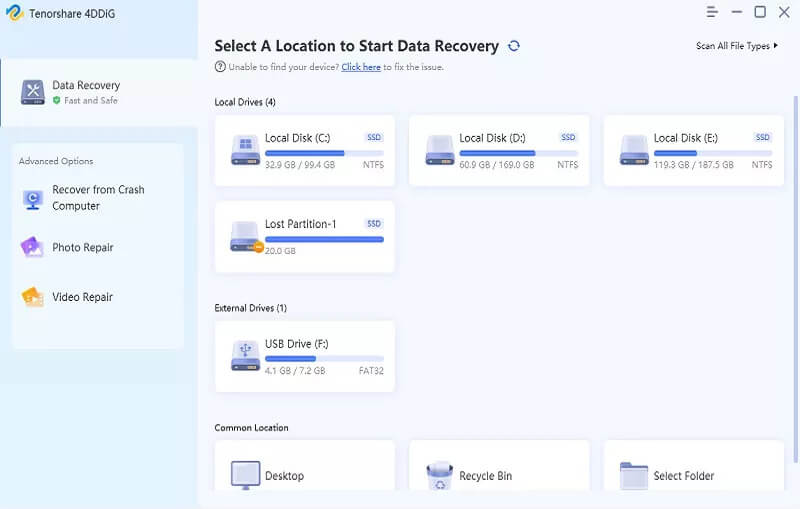
Step 1: Download and install Data Recovery, an effective and powerful program that works well to recover data from the RAW drive.
Step 2: Launch the data recovery program on your Windows PC. On the homepage of the program, you can select the data types and the RAW drive to Scan. Click on the “Scan” button to continue.
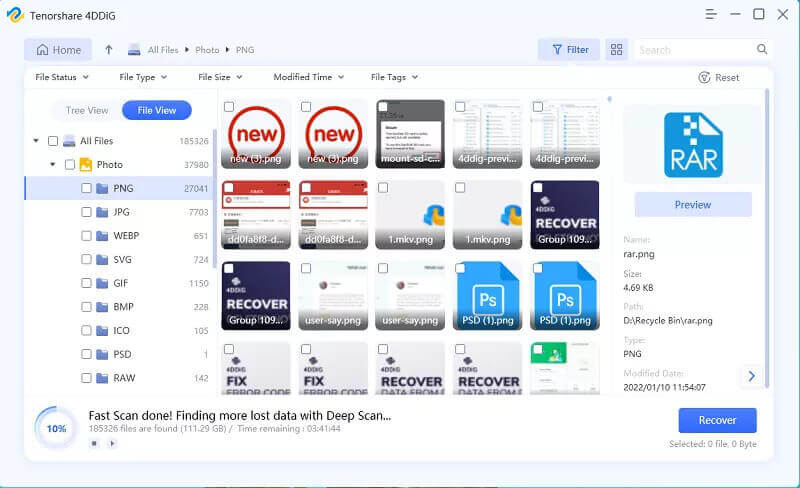
Step 3: The Data Recovery software will perform a quick scan on your selected drive. After it completes, it’s advisable to try the deep scan, which will help users find more lost data.

Step 4: When the scanning process is done, you can check the files from the program. Select the files on the RAW drive and click on the “Recover” button to get them back on your computer. And you should save the files on another hard drive instead of your RAW drive.
Step 5: Now you can start to format your RAW Drive. Go to “This PC/My Computer” and right-click on the RAW drive, then select “Format”. The set file system as NTFS or FAT and click “Start > OK”. After you format the raw drive to the NTFS file system, you can access this hard drive as normal.
But if you don’t want to format your RAW hard drive, you can read method 2 to see how to fix the RAW drive without format.
Method 2: Convert RAW to NTFS in Windows without Formatting
You can convert the RAW hard drive to NTFS using the CMD command instead of formatting your RAW hard drive.
Step 1: Type cmd on the start search bar on Windows and then right-click to choose “Run as administrator” to open the Command Prompt window.
Step 2: Type Diskpart on the Command Prompt window, and then hit on entering
Step 3: Type G: /FS :NTFS and hit Enter (G represents the drive letter of your RAW disk). After that, I am sure your RAW hard drive would be changed to NTFS and you can access it as normal.

Tips: How to Check RAW File System
If the hard drive is not available to access, you can check if it’s RAW:
1. Type cmd on the start search bar on Windows and then right-click to choose “Run as administrator” to open the Command Prompt window.
2. Type CHKDSK G: /f on the Command Prompt to check the result. (G represents the drive letter of your RAW disk). If the hard drive is RAW, you will see the “Chkdsk is not available for RAW drives” message.
If you have any problem when you change RAW to NTFS on Windows PC, please drop us a comment below!
How useful was this post?
Click on a star to rate it!
Average rating / 5. Vote count: