Accidentally emptied trash on Mac and find it impossible to restore? Don’t panic! It’s sure that emptied trash can be recovered from Mac and your important data can be restored to where they are. Read on to recover files from trash on Mac easily!
Is It Possible to Recover Emptied Trash on Mac?
Though Apple claims that once the Trash is emptied, the files in it will be deleted permanently; however, they are still lying on your computer! The fact is when you delete something on your Mac, it just turns somehow invisible and is marked as “replaceable” by the system for writing new data. The deleted trash is not really emptied until a new file is using its space. Therefore, to enhance the possibility to find your files back, avoid downloading or creating new files on your Mac in case the emptied trash may be replaced by new files.
However, not all emptied trash can be recovered on Mac. You can recover deleted trash from Mac when you:
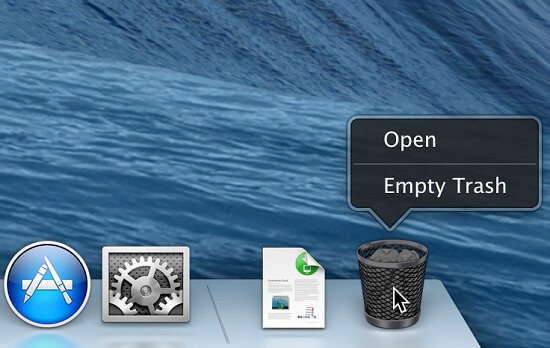
- Drag a file to the Trash and then click Empty Trash;
- Choose a file on Finder and select “Empty Trash…”;
- Permanently delete a file using the Option-Shift-Command-Delete buttons;
- Click “Delete Immediately” to bypass Trash and directly delete a file.
But you cannot undelete trash when the file is erased by Secure Empty Trash. Secure Empty Trash is an option available on OS X El Capitan or earlier, which will not only delete a file but also write a series of ones and zeroes over the deleted file, making it impossible to recover by any software. So if your trash is securely emptied, there is little chance to get it back.

How to Recover Emptied Trash from Mac
Even though we know it is possible to recover emptied trash, we still cannot undo Empty Trash without a professional data recovery program, since there is no “undo” button for the Empty Trash command. To easily restore trash files on Mac, you need the help of Data Recovery. It can undo empty trash safely and quickly and retrieve deleted images, videos, audio, emails, documents, and more in the emptied trash. Moreover, Data Recovery can also be your best choice to find data deleted or lost during system restore, factory reset, or system update.
The longer time you wait, the more likely the files are covered by new ones. Download it now and restore trash on your Mac in only 3 steps!
Follow the simple three steps to recover files from the trash. Believe me, it won’t take long.
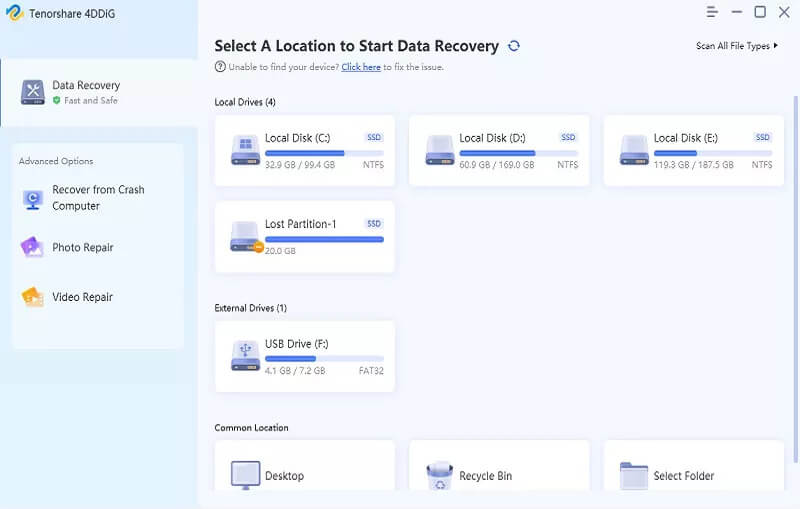
Step 1: Get Started
Install Data Recovery and open it. On the homepage, you can select data type and location to scan lost data. You can choose the certain types of files you have emptied from Trash, such as images, audio, video, or document. Then click “Scan” to get started.
Step 2: Search for Emptied Trash on Mac
After you click the Scan button, Data Recovery will start a quick scan automatically. When done, enter “~trash” in the search box to find emptied items on Trash.
Tips: You can preview the result by type. And in case you find the result not satisfying, click “Deep Scan” to find more emptied trash. It may need some time, even a day if your Mac has large-capacity disks.

Step 3: Recover Emptied Trash on Mac
Choose the deleted trash that you want to recover. Click “Recover”. Then check the output folder, and all the files you choose should reappear.
Isn’t it easy? The longer time you wait, the less likely the files can be recovered because even browsing around on the Internet can produce new files. Just download Data Recovery
All the above are the simplest way to quickly recover emptied trash on Mac. Also, it can be helpful to restore deleted files. Losing important data is devastating, and we hope this passage help. If you find this passage useful, please give us a like and share it with your friends!
How useful was this post?
Click on a star to rate it!
Average rating / 5. Vote count: