When you have too many photos on your iPhone, you may find yourself dealing with issues of insufficient storage space on the device. Since the photos may be important to you, deleting them may not be a solution you’re comfortable with. The best solution is to transfer the photos to your external hard drive, and in this article, we will provide you with solutions that can help you do that very easily.
Way 1: Transfer Photos from iPhone to External Hard Drive in 1-Click
One of the best solutions to help you transfer photos from the iPhone to the external hard drive is iPhone Transfer. This third-party iOS management tool is very easy to use, allowing you to quickly and easily transfer data from an iOS device to a computer or external storage device. We shall see how you can use this tool to transfer photos from the iPhone to the external hard drive shortly. But before we do that, let’s take a look at some of the program’s most useful features:
- It can easily transfer all types of data from the iOS device to the computer, including contacts, SMS, music, photos, videos, and so much more.
- It allows you to manage the data on your device in numerous ways, including exporting, adding, or deleting data as needed.
- With this tool, you don’t need iTunes to transfer data between iOS devices and your computer.
- It fully supports all iOS devices and all versions of iOS, even the newest iPhone 17/17 Pro/17 Pro Max, iOS 18 and iOS 26.
Here’s how to transfer photos from iPhone to an external hard drive:
Step 1: Download and install iPhone Transfer onto your computer and then launch the program.
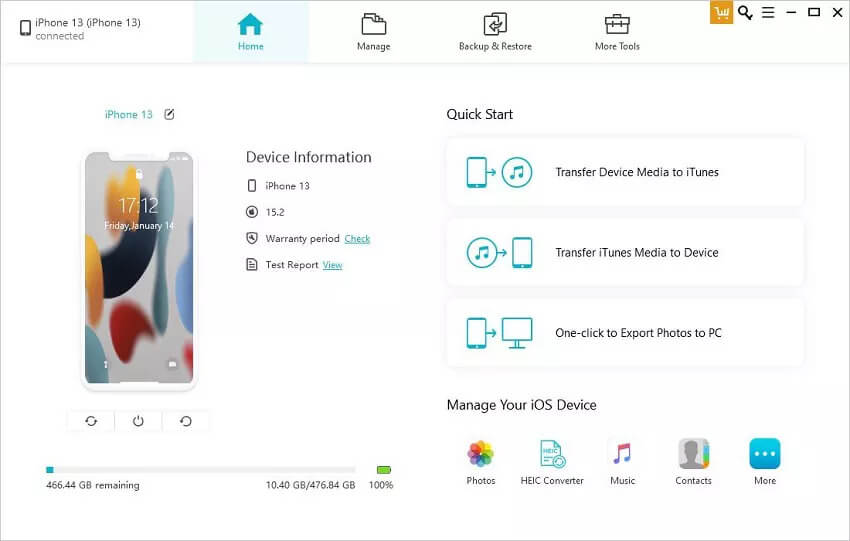
Step 2: Connect the iPhone to the PC and tap on “Trust This Computer” when prompted. Once the device is detected, click on “One-click Export Photos to PC”.
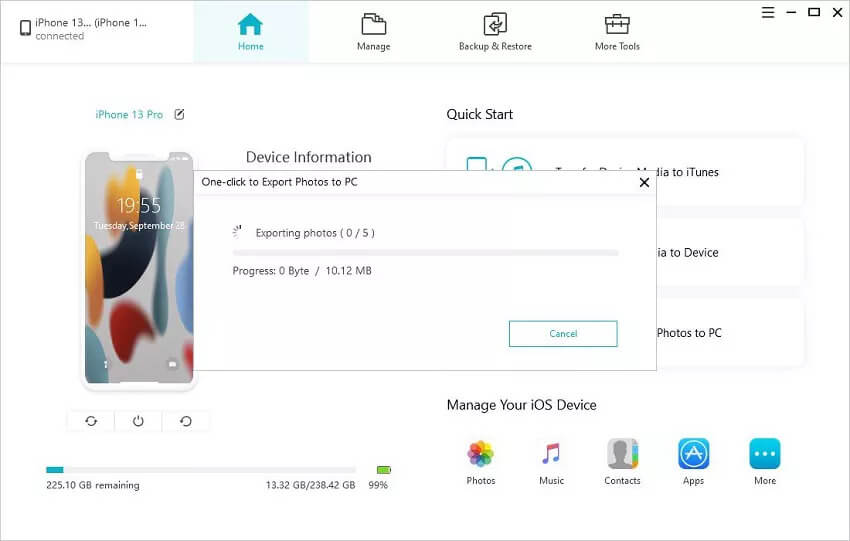
Step 3: The program will scan the device for all photos and automatically transfer all photos to the computer.
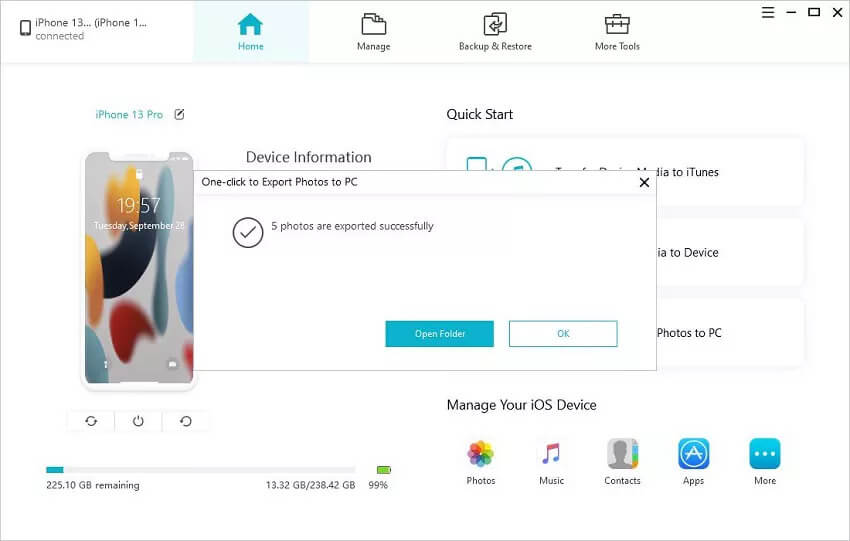
When the photo exporting process is complete, the destination folder will pop up. Then you can freely transfer your iPhone photos to your external hard drive for safe backup. All the photos will be kept in their original quality.
Way 2: Transfer iPhone Photos to an External Hard Drive via iCloud
If the photos you want to transfer are in iCloud, follow these simple steps to transfer them to the external hard drive:
- Ensure that the iCloud sync feature is enabled on your iPhone.
- Go to iCloud.com and sign in with your Apple ID and password.
- Click on “Photos” and then wait while all photos are loaded. Select all the photos you would like to transfer and then click on “Download selected items”.
- When the download is complete, connect the external hard drive to the computer and copy all photos to the drive.

Way 3: Transfer iPhone Photos to an External Drive via Windows Photo Gallery
You can also easily use the Windows Photo Gallery to transfer photos from your device to the external hard drive. Here’s how to do it:
- Connect the iPhone to the PC using a USB cable.
- For Windows 7 users, the “Import Pictures and Videos using Windows” pop-up will appear. Click on “Import” to begin importing the photos into your camera roll.
- For Windows 10, open the “Photos App” and then click on the “Import Button”, you can then select the photos you want to import.
- Finally, connect the external drive to the computer and then move the photos to the drive

Way 4: Transfer iPhone Photos to an External Drive on a Mac via Image Capture
For Mac users, the best way to transfer photos from the iPhone to the Mac is to use “Image Capture.” Here’s how to use it:
- Connect the iPhone and the external hard drive to the Mac computer.
- Using Spotlight search to find “Image Capture” and launch the program when it appears in search results.
- Click on the iPhone (you should be able to see it by its name), and all the photos on the device will be displayed in the next window.
- On the “Import to” bar, choose the external hard drive. You can also select only some photos to import to the drive-by by first selecting the photos and then clicking on “Import.” You can choose “Import All” if you want to import all photos.

Conclusion
The solutions above should be very helpful when you want to transfer photos from your iPhone to an external hard drive. Once you do, you can create much-needed space for other data on the iOS device and also significantly improve the device’s performance.
How useful was this post?
Click on a star to rate it!
Average rating / 5. Vote count: